As a professional painting contractor, it’s understood that you’re not a professional photographer. On the flip side, as a business owner, you’re aware of how important wearing multiple hats can be for your painting company.
The professional painting industry is rather unique. You’re probably well aware that your services can be conveyed via photos. For instance, the same cannot be said about plumbers or HVAC companies. So just because you can take photos of your work, why should you?
Here we will review the importance of photography for your painter advertising and marketing campaigns. We will provide several tips to help you take better before and after photos of your painting jobs, and we’ll even discuss where you can use these images to generate more business and painting leads for your contracting company.

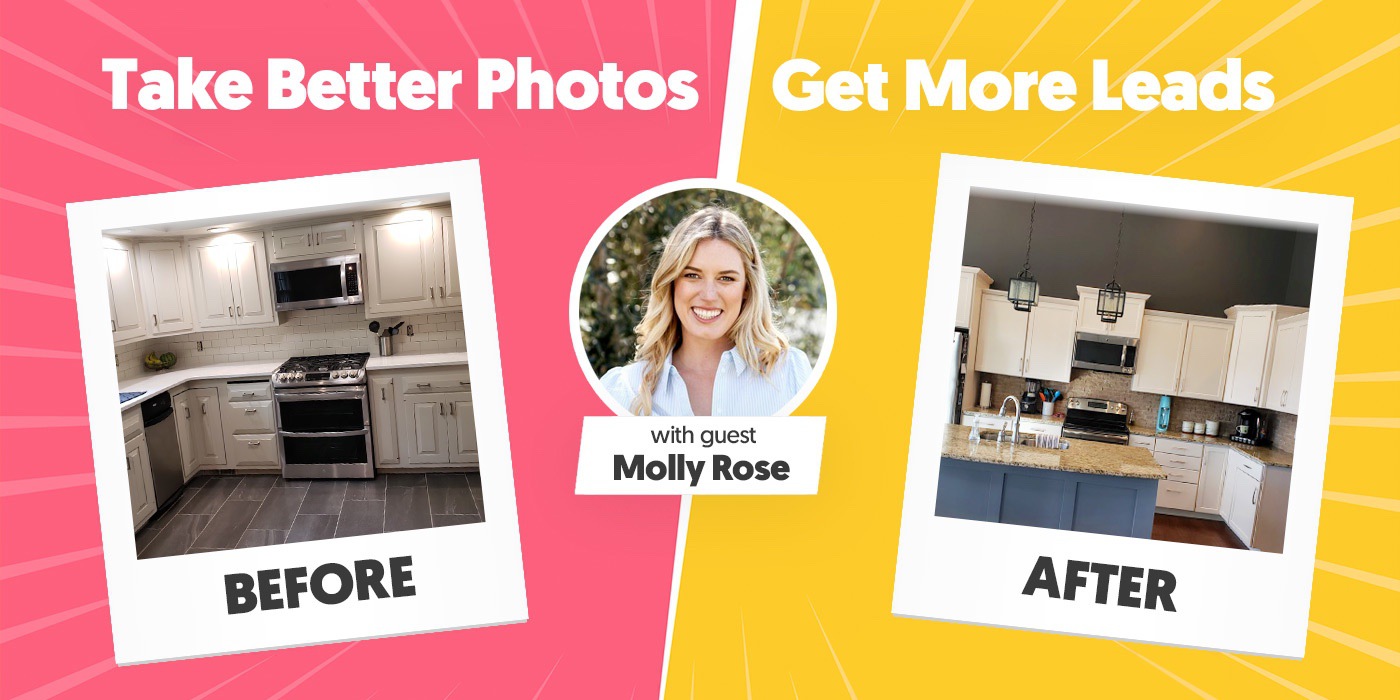
Learn from Molly Rose: A Professional Interior Photographer
I want to give a BIG shoutout to Molly Rose. Molly is a professional interior photographer based out of sunny Los Angeles, California, and has graciously offered to contribute to this post.
Let’s jump in!
Why are before and after images so important for your contracting business?

Your work is visual, and our brains were built to process visual information. It’s why 90% of the information processed by our brain is visual inputs. Plus, your customers LOVE before and after images. The best part? This powerful marketing material can be created for free using nothing more than your existing smartphone.
Let’s start by addressing some common questions…
Why should I take before and after photos of my painting projects?
Two words: Marketing material
Your before and after photos are the best way to visually communicate your craft, and the skills you’ve worked so hard to refine. Use these images to build trust and breakdown customer hesitation.
Consider this: A potential customer is presented with two painting companies, one with high-resolution images of their work and the other with a verbal or written offer. Which one do you think the customer is more likely to trust? As they say, seeing is believing.
You work hard to refine your skillset. You’re a craftsman, or craftswoman. Be proud of what you do. Even if you don’t invest in a painter advertising or marketing campaign today, you probably will at some point in the future. So take pictures of your work for the world to see, the marketing agency you hire will thank you later.
How many photos do I need to take?
There is not a set number of photos you should take while on the job site, but the minimum recommended number is probably higher than you think. For instance, the industry’s largest painting contractors will take thousands of photos a year. Why? Because they make great marketing material.
Taking 50 images of an empty room you just painted may seem like overkill, right? Wrong. Maybe your thumb was in the way, or perhaps your camera caught a lens flare. The more photos you take of your painting jobs the more likely you are to walk away with workable images that can be used on your future painter marketing campaigns.
Once you walk away from your customer’s property it may not be easy to get back onsite to take more photos, so it’s important you get it right the first time. Take several photos of your subject from the same location, making small adjustments each time, then move to a different angle.
Where should I store my project images?

Depending on the size of your painting project you may walk away with several hundred images. While these before and after images are important, they won’t benefit you or your marketing campaigns unless you keep them organized. Come up with an SOP (standard operating procedure) to catalog your project photos on the cloud.
We recommend using Google Drive for this. At the time of writing this article Google Drive is free for up to 15GB, they have a mobile app to easily create new folders and categorize images, and it’s easy to share and collaborate.
Should I buy a fancy camera or hire a professional photographer?
The short answer: It depends
For most painting contractors the camera on your mobile device will get the job done. If you closed a large project that you believe will photograph well (mansions, car dealerships, etc) then it may be worth hiring a photographer for a few hundred dollars to take professional photos. This is especially useful if you have an active advertising or marketing campaign for your painting company as you can see a return on investment with just one closed painting job.
We only recommend purchasing your own DSLR camera if you have the time, motivation, and resources to invest. Just because you have the right equipment doesn’t mean you’ll be able to take better photos. Lighting, aperture, and exposure times can all impact the quality of your images, and it takes some practice to get it right.
For this article, we are going to focus (pun intended) on photography tips specific to the camera on your mobile phone.
Painting contractor photography tips

For this, we engaged a professional photographer. Molly’s skills are evident in her photography. In fact, most of the images we used in this post are from her portfolio, so her advice is not to be taken lightly.
Always take landscape photos, not portrait
This is one of the biggest mistakes we see with amateur photographers. Turn your phone sideways! Why is this so important? Computer monitors are wider than they are tall, so when it comes to digital marketing, landscape images are almost a requirement.
If you take a photo in portrait mode you are horizontally cropping the image, so this leaves no room for adjusting the image afterward. Turning your phone to the side opens up the horizontal landscape to capture more of the surroundings.
Keep your photos level
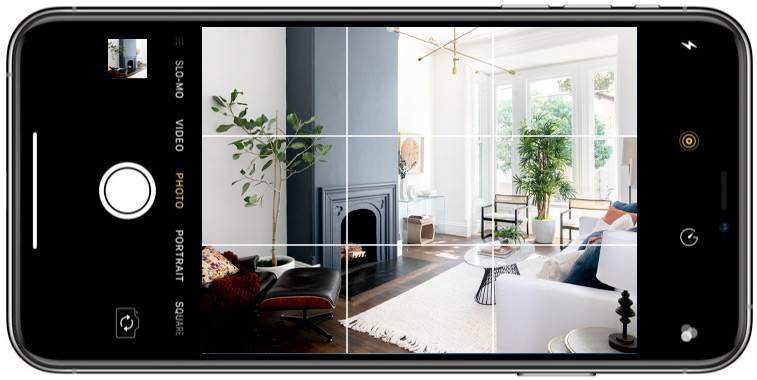
To do this, go into the settings on your phone and enable the grid for your camera. This will help you keep your vertical and horizontal lines straight. Keep shooting until you get the right shot.
Take your before and after photos from the same position
While this may seem obvious, it’s something that takes planning and foresight. Before you start prepping a job site be sure to scope out the locations of your before and after images. To keep the photos as consistent as possible be sure to consider things that may not be in the “after” shot, like vehicles, water bottles, or other debris that may cause distractions.
Don’t use photo filters
Don’t use filters on your photos. While it may seem attractive, filters only have a 3 to 12-month trend pattern. By avoiding filters, you’ll ensure you have “evergreen” marketing material that can be used for years to come. Plus, filters can always be applied in post-production if needed.
Stage the scene
Pay attention to the details. If you’re taking photos outside try to avoid vehicles that may not be in the “after” shot. The goal is to keep the images as consistent as possible so the only change between the before and after shots should be the paint you apply to the walls.
Don’t be afraid to ask the customer if you can help move their furniture in exchange for a staged room to photograph. Having pictures on the wall and furniture in the room is infinitely more photogenic than an empty wall with a fresh coat of paint.
Consider the lighting
When photographing interiors, lighting is one of the most important factors that can impact your shot. Avoid direct light and harsh shadows. Use curtains and blinds to control the natural light. Then turn on lamps and overhead lights until you find the combination that evenly lights the room best. Try positioning yourself with the windows to your back to avoid a washed-out photo.
Also, consider the time of day. While exterior shots are best photographed during the golden hour (one hour before sunset) interior photography is easier to shoot mid-day while the sun is highest in the sky.
Leverage whitespace
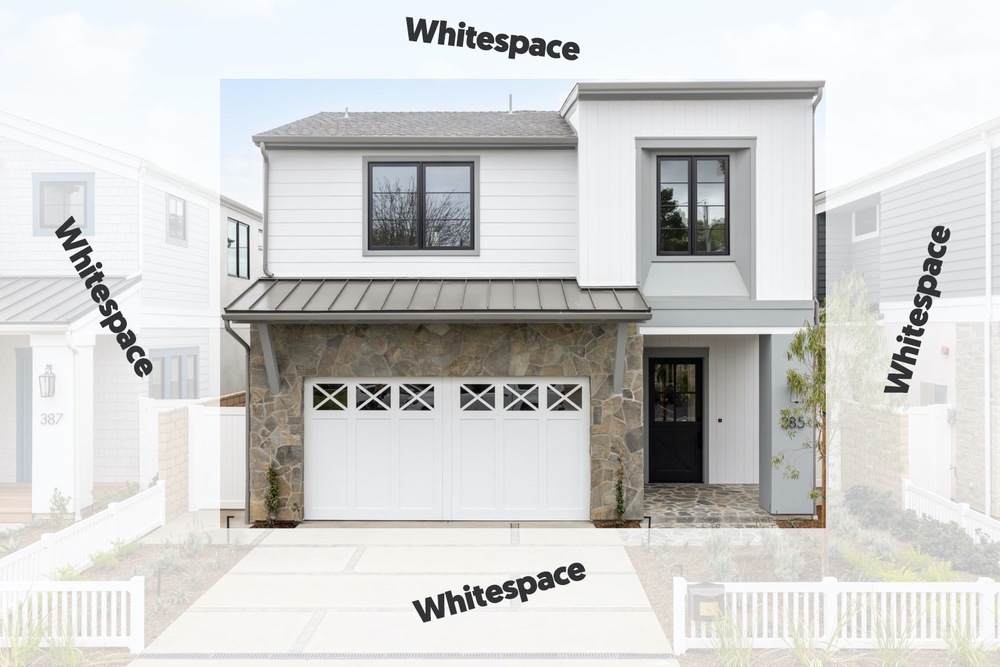
Whitespace is simply the room you leave around the subject in your photo. While this isn’t as important for interior shots, this can play an important role when photographing the exterior of a house or office building. We recommend keeping your subject centered both vertically and horizontally. Take a few steps back to ensure there is ample room for cropping the image afterward.
This is especially important for digital marketing. Since computer screens are primarily designed for landscape, mobile devices are generally held in portrait. Keeping your subject centered (with whitespace) in a landscape shot allows for cropping on mobile while still displaying a full-screen image on a desktop computer.
Take advantage of “free” photo opportunities
If you repainted a house that is about to be listed on the market, consider asking your customer for their photographer’s contact information. This is a great way to obtain professional photos of your work without having to coordinate a photoshoot and pay for a professional photographer.
Using your before and after images to generate new business

As we touched on earlier in this article, your project photos are your best marketing assets. These photos are particularly important for those painting companies on a limited budget since your only overhead is a phone and the time you invest into shooting the photos.
Editing your photos for the web
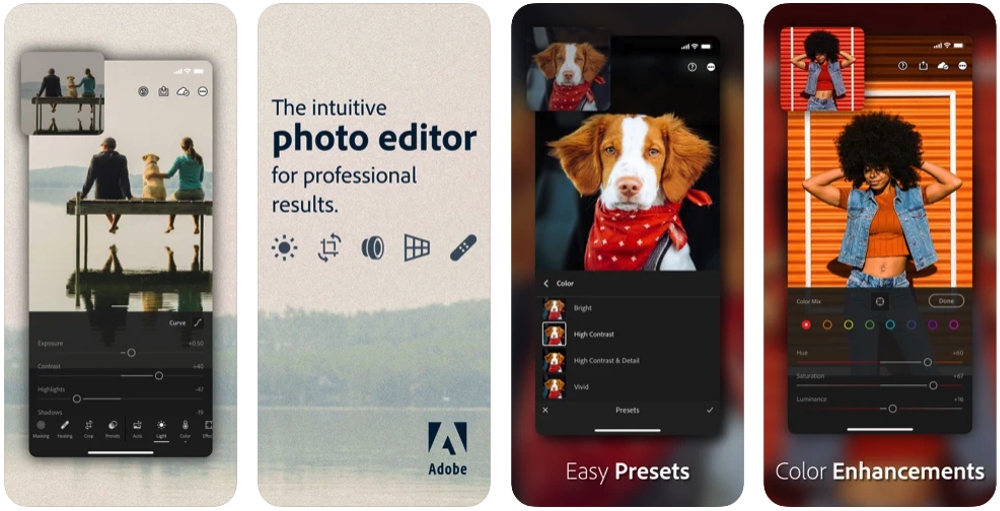
You don’t need a degree in graphic design or expensive photo editing software like Photoshop to produce high-quality images for the web. There are several mobile apps that can help with this. We recommend downloading the Adobe Lightroom app for your mobile device. It’s free and provides countless presets that allow for quick and easy photo editing. One of the best features of this app is a geometry tool called “upright” that can straighten out your photos with minimal cropping.
Post your images to social media
While social media isn’t the best place to start advertising your painting business, it’s a great place to build trust and brand awareness. For best results, upload and post your photos 3-5 times a week. If you do the math you’ll need at least 150-260 pictures a year to cover this posting schedule.
Instagram is the best place to reach your audience on social media. It’s a social platform geared toward photography and the hashtags reach a broader audience than Facebook. Stick to hashtags your customers might be searching for, like #interiordesign and #housepainters.
Build a Google Display Ads campaign using your before and after photos
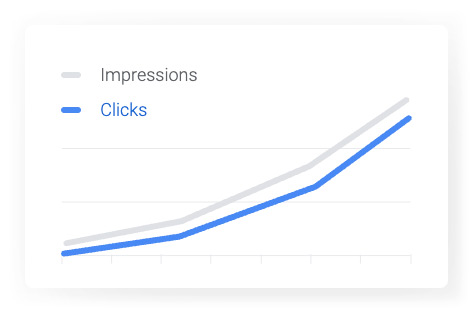
While you can’t use photos directly on Google Search Ads, you can apply them to your Google Display Network campaigns. These ads typically produce quality painting leads at the same ROI as the standard Google Search Ads. Add the same photos to your landing pages to keep the user experience consistent. This consistency helps boost conversion rates, making it more likely that your website visitors will convert into painting leads.
Add your before and after photos to your printed marketing materials
It’s no secret that cell phone cameras have significantly improved over the last decade. Just a few years ago taking pictures on a smartphone for printed material would be laughed at. Why? Because printed materials require a higher pixel density than digital mediums do.
The key is to configure your phone to take high-resolution images. By default, most phones are set to optimize for data and storage space, which typically sacrifices image quality. Be sure to set your phone to take the highest resolution images possible. We have found success utilizing these images on postcards, flyers, and door hangers.
Conclusion
Are you looking for a marketing partner to help grow your painting business? That’s right, we’re a partner, not just a service provider. Get a leg up on the competition, give us a call today!


